creating an elastic web page using Dreamweaver
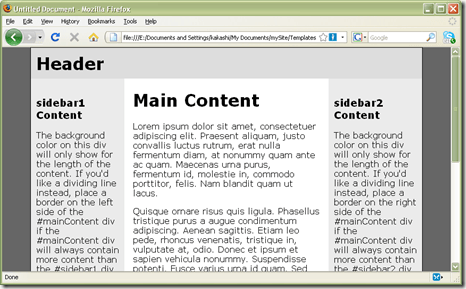
Unlike liquid web content that automatically adapts to a visitor's browser width, the elastic layout adjusts depending on the browser's text size setting. Relative to the size of the text, the elastic layout retains it's form even if you resize your browser window. It is a good layout choice for page contents that you don't want to automatically resize according to the browser width.
A sample elastic page at default normal font size is below:
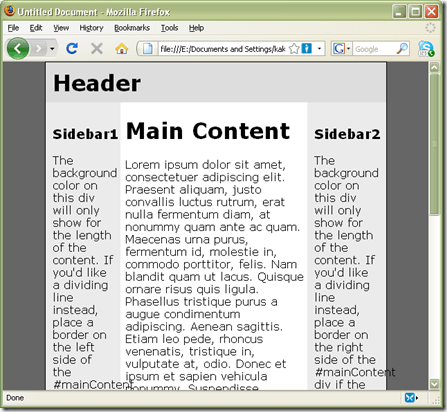
A liquid design on the other hand will produce a squeezed layout if you shorten the width of the browser:
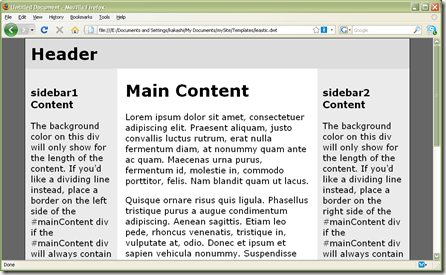
The elastic layout on the other hand will retain its layout no matter what the width or height of the browser is.
Now that you see what it will look like, and behave I will show you how to create this using Adobe Dreamweaver.
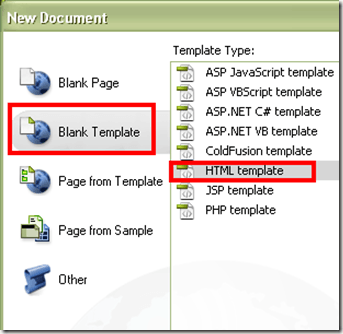
Dreamweaver is one of my favorite web editing tools, it's well defined templates lets users quickly create HTML frames and layouts. To make an elastic page in Dreamweaver just create a new page and then click Blank Template > HTML template:
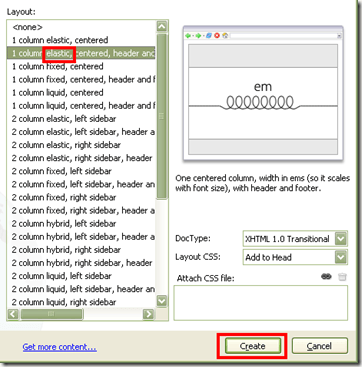
Choose any of the layouts with an elastic label. A preview will appear on the right hand corner. Click the create button to create the page:
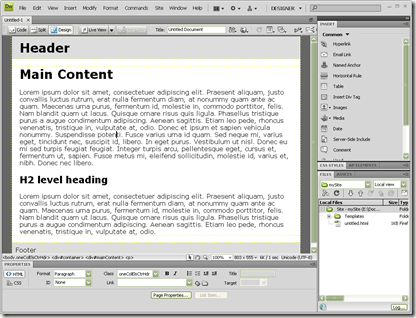
The created page will appear in Dreamweaver' s editor:
I like how it creates the page with sample text data loaded on it. This eases a designer's visualization of the page during development. It shows at once how a header will look like and how the paragraph elements will look once you put some real content in.


No comments:
Post a Comment